Configure a mutator
Introduction
Mutators are configurable APIs that allow a client to update data in the User Store. Mutators (write APIs) can be thought of as the complement to accessors (read APIs). Mutators are intended to capture and store a user's consented purposes alongside their sensitive data. Purposes are passed in context at execution time.
Mutators do not create users: they only add or edit values associated with existing users. You can create a user via the CreateUserWithMutator call.
Creating a Mutator
You can set up a mutator via the User Store page in the UserClouds Console, or using the CreateMutator API. There are four steps to define a mutator:
- Name and describe the mutator
- Choose which records and columns it will write data for
- Define how the mutator should normalize inbound data
- Define the circumstances in which the mutator can be used
Create a Mutator in UserClouds Console
To create a mutator, go the User Store page (accessible from the sidebar in UserClouds Console) and click Create Mutator.
1. Name and describe the mutator
Mutator names are used in your codebase (to call the API) and in your audit log (to understand whether data usage aligns with user consents). Use the names to describe what the API does. A good naming structure describes the inbound data, e.g. SetDateOfBirth, SetPhoneNumber or SetProfile.
2. Choose which records and columns the mutator will write data to
Next, pick the user records and columns the mutator will return data for. Specify the user records by writing a selector, a SQL-like clause, like {id} = ANY(?) OR {Email} LIKE ?. In selectors, each ? represents a parameter that is passed in an array, at execution time. This parameter can be a single value, or an array of possible values. For more info on selectors, see Selectors.
When creating a user via the CreateUserWithMutator API, you should use the selector {id} = ?. For more info on creating users in User Store, see Create a User.
Add columns by selecting from the dropdown and clicking "Add Column".
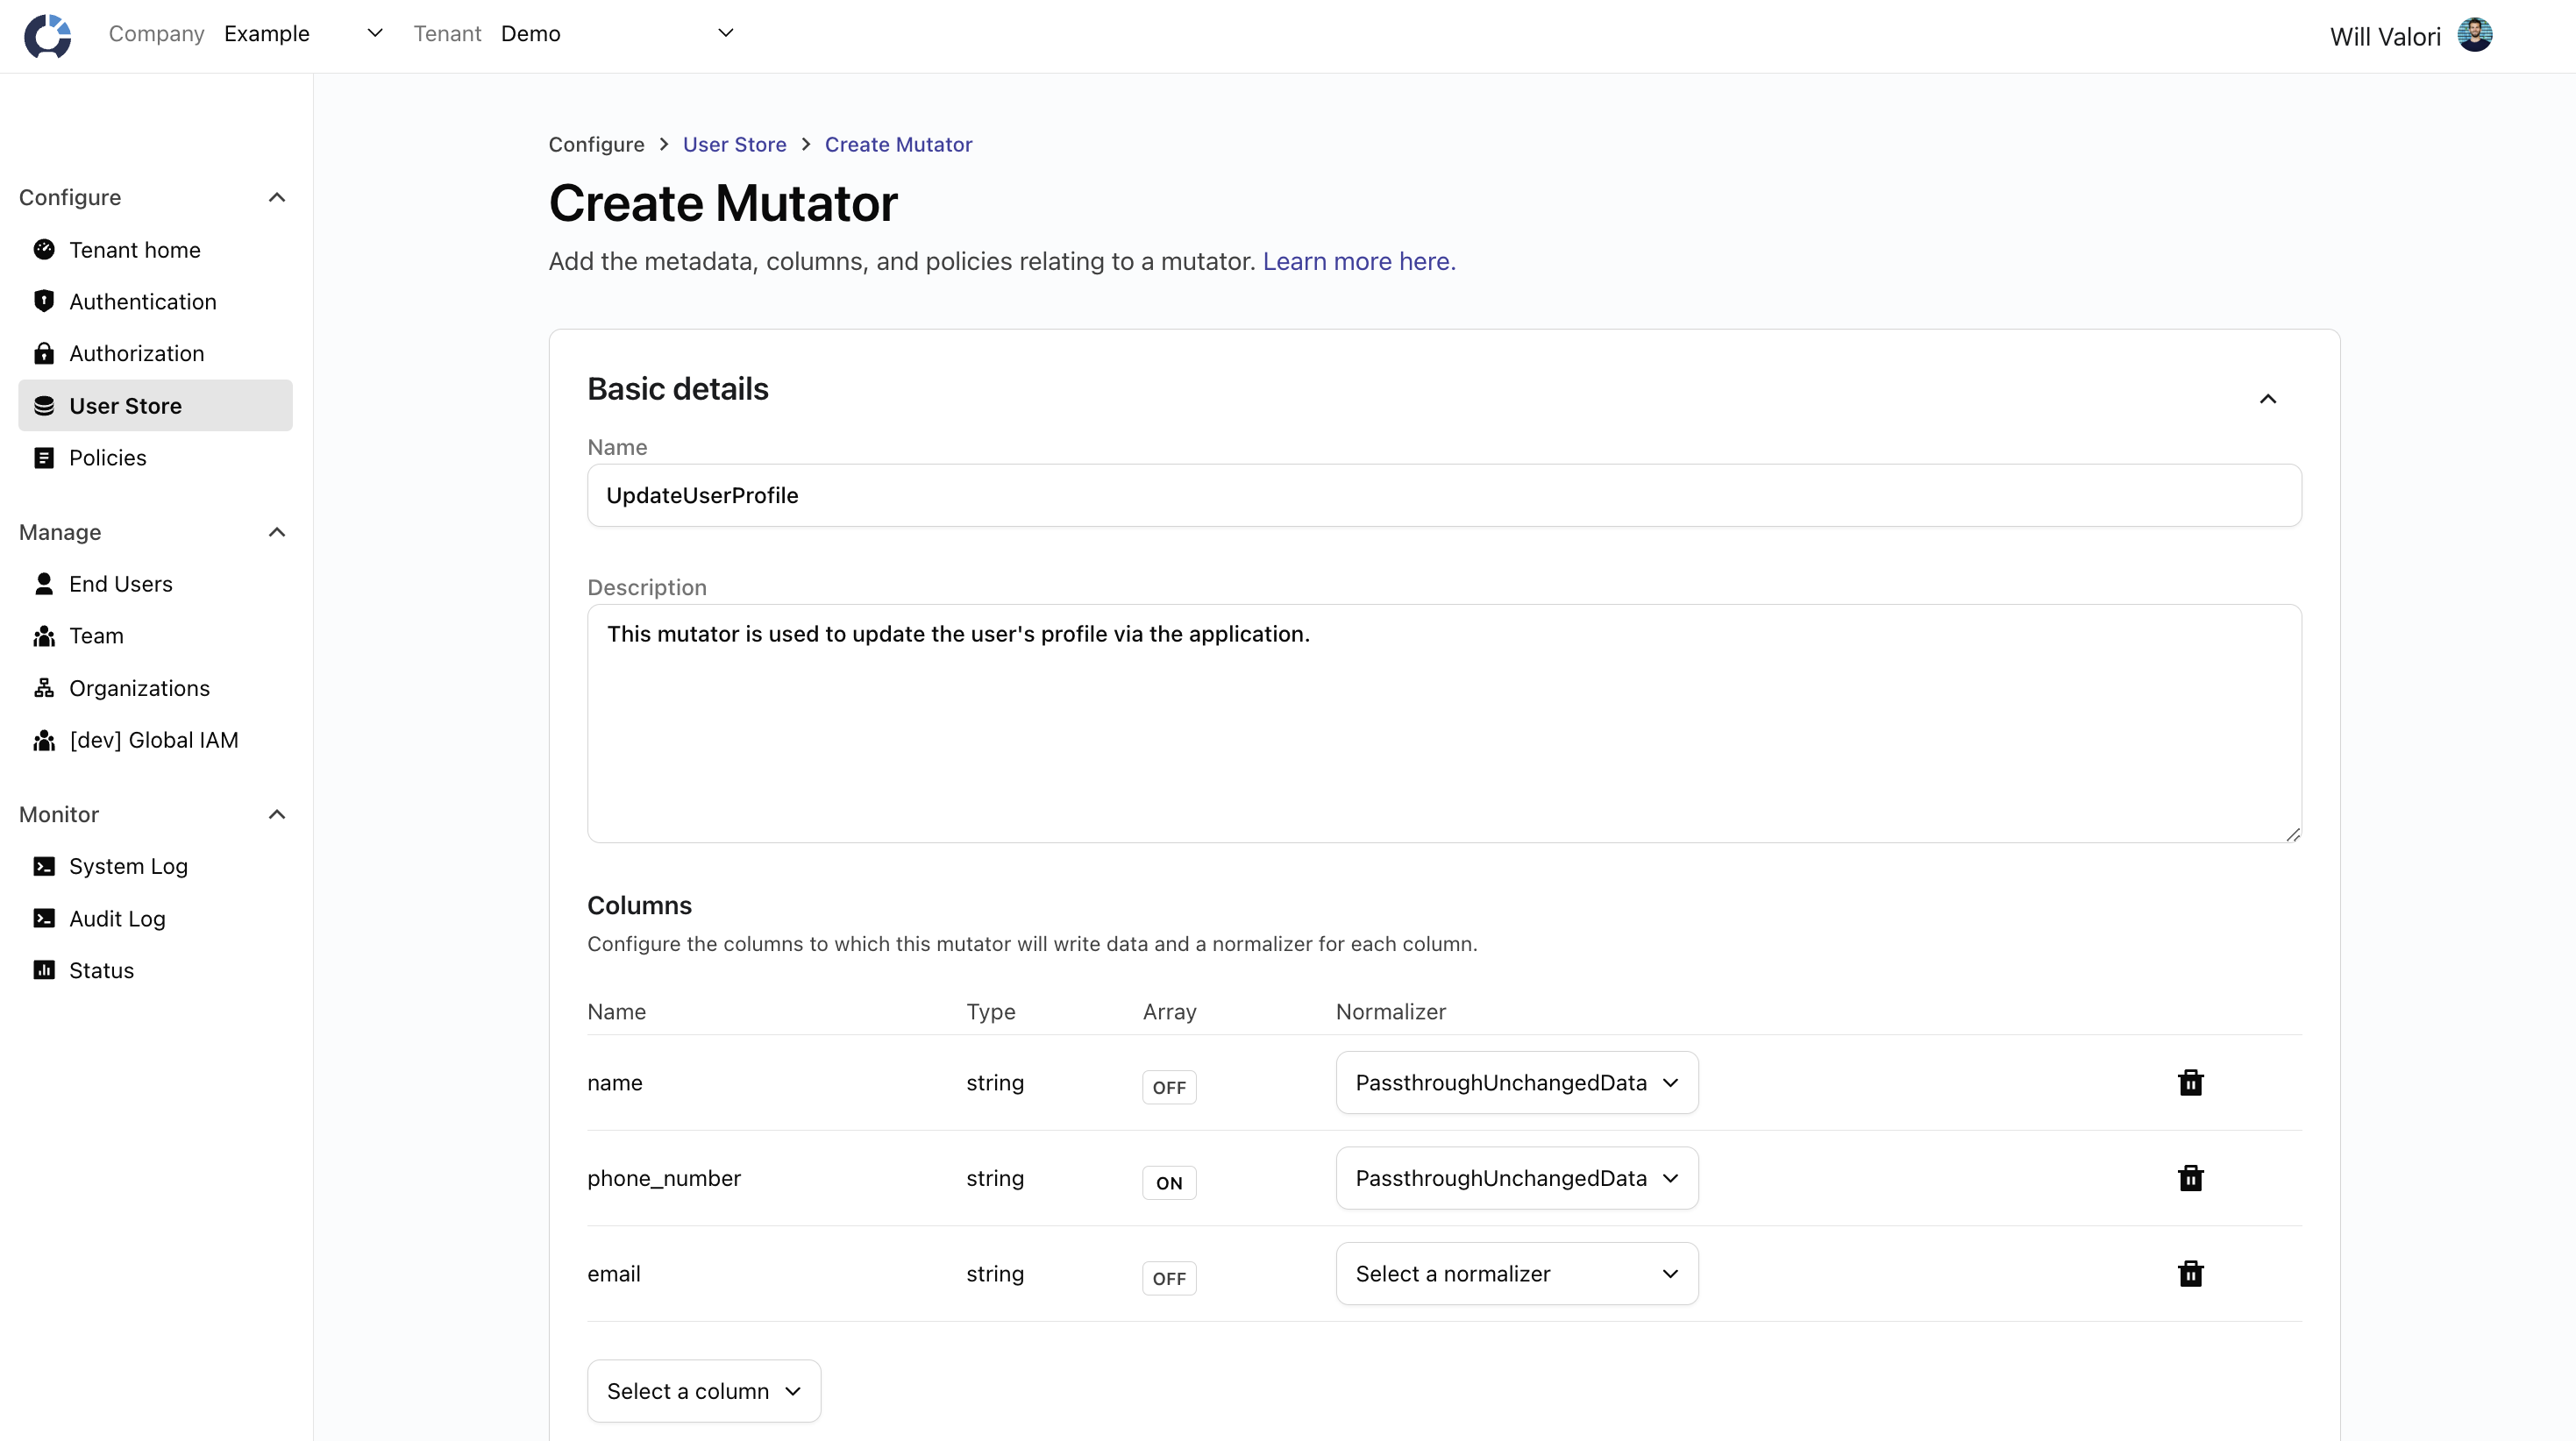
Select which columns the mutator will write data to, then select a normalizer defining if / how data should be manipulated before being saved.
3. Define how the mutator should normalize inbound data
Next, you must define how the mutator will normalize each column's data on the way into the store. Choose one data normalizer per column, using the dropdowns in each row of the columns table (see picture above). Any transformer of type PassThrough or Transform may be used as a normalizer, but tokenizing transformers cannot be used as normalizers. If no normalization is desired or required, a PassThrough normalizer should be used.
Only normalizers with an output type that exactly matches the column's data type may be used. For example:
- A normalizer with output type
datemay not be used on a column with data typetimestamp
Transformers should always be written to act on a single piece of data. UserClouds natively handles the case where the associated column is an array column, calling the specified transformer on each array element and recombining the results into an array.
For more information on transformers, see Transformers. For more information on creating transformers, see our How To Guide on Creating Transformers.
4. Define the circumstances in which the mutator can be used
Finally, select an access policy for the mutator. The access policy controls whether the whether a given write attempt (execute mutator call) is allowed. The simplest access policy always returns true (write permitted). It is possible to create much more fine-grained policies. In this interface, you can:
- Choose a single, pre-existing policy
- Choose and parametrize a pre-existing access policy template
- Write and parametrize a new policy template
- Compose a new policy by taking any of the above actions multiple times and combining those policies with AND or OR logic
For more information on what access policies do, see Access Policies. For more information on creating access policies, see our How To Guide on Creating Access Policies.
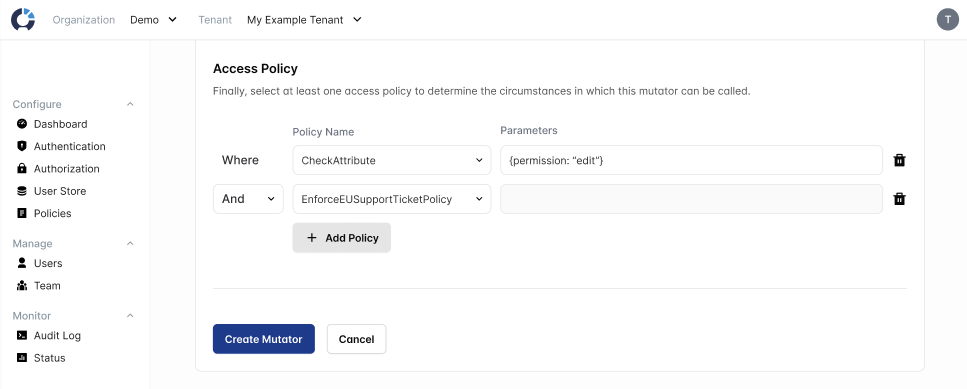
The access policy controls whether the whether a given write is allowed.
Nice job! You can now click Save to create your mutator. You can learn how to invoke this mutator in the next article.
Create a Mutator via the API
To learn how to create a mutator via the UserClouds API, see our [API Reference](https://docs.userclouds.com/reference/post_userstore-config-mutators).
Updated 11 months ago